How to Repair your Arizer Extreme Q Vaporizer
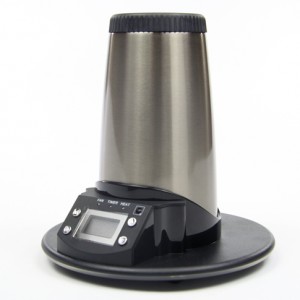
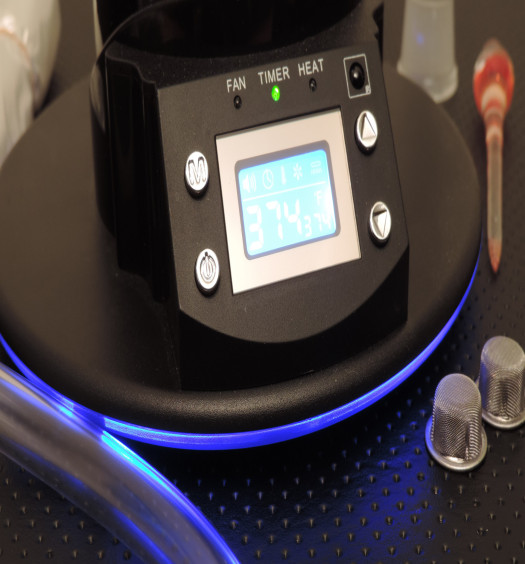
Here at Vaporizer-Review.com, we are massive fanboys of Arizer. The Arizer Solo is far and away the best handheld out on the market. Their desktop-style vaporizer, the Arizer Extreme Q, continues the tradition of excellent quality vaporizers. Allow me to give a few selling points, I’ll understand if you need to leave our site to purchase it right away: All digital display. Remote control. Whip-style AND baloon-bag ready. Exact temperature with triple heat sensors. Quick heat-up time. And you can’t complain about a Lifetime Warranty on the heating element / 3-year warranty on the electronics.
So I’ll assume you were completely convinced and bought one of these right away. And some time goes by, and you need to give it a little bit of maintenance! Whether you want to give it a nice cleaning or if the glass accidentally broke and some fell in, you’ll be happy to know here at Vaporizer-Review.com we’ve written up a nice guide to get that baby back to optimal condition!
- Remove the 4 rubber feet on the base of the Extreme Q Vaporizer.
- Using a Phillips Head Screwdriver, unscrew the 4 screws located under each rubber foot.
- Remove the base cover from bottom of the Extreme Q Vaporizer.
- Locate two screws only, one on either side of the circuit board (do not remove the screws that secure the circuit boards themselves). Remove the two screws that secure the stainless steel cylinder, and remove the Extreme Q Vaporizer cylinder Important: if it is difficult to remove the cylinder, wiggle cylinder back and forth until it becomes loose and comes off – be careful not to touch the circuit board as this may cause irrevocable damage.
- When you have the Extreme Q Vaporizer cylinder free from the base, you will see the ceramic heating element. Remove the long cotter pin that secures the glass cover and remove any broken glass shards by gently blowing canned air and/or you can turn it upside down and gently shake the unit so any glass will tumble out Important: when shaking the Extreme Vaporizer – hold the ceramic heating element tightly to prevent any damage.
- Once the Vaporizer is all cleaned out, place a new glass heater cover in place and secure it with the long bottom cotter pin Important: make sure the holes in the cradle line up with the holes from the glass heater cover in order to prevent the glass from breaking or cracking. Make sure to place the insulation tube around the glass heater cover first before installing the new heater cover.
- Now evenly screw in the top 4 support screws; this centers and supports the glass heater cover. Important: do not screw in the 4 support screws too tightly to prevent damage to the glass heater cover.
- Put the Extreme Q Vaporizer cylinder back in place by lining up the holes in the cylinder with the holes in the Extreme Q Vaporizer base. Position the cylinder’s top hole so it is centered with the top of the glass heating unit cover. Secure the 2 screws that hold the cylinder in place.
- Place/center the Extreme Q Vaporizer base cover back on top and screw in the 4 screws then place the 4 rubber feet back on.
If you wish to purchase parts for your Extreme Q, or a new vaporizer altogether, visit this store for all your Arizer needs.
Tags
Arizer Arizer Extreme Q Vaporizer Extreme Q Vaporizer Extreme Q Vaporizer Repair Vaporizer RepairThe Author
You Might Also Like
March 2, 2017
My e tower will turn on but then says error 1 and will not do anything it’s just flashes and I can’t get into the mode setting or anything. Do you know why it’s doing this ? Or how to fix it ? Cheers..
March 21, 2017
Hi George,
Unfortunately when this occurs, it means that you’ll have to contact Arizer for a warranty claim.
December 17, 2016
Er 5 is the error message I see - I took out the bottom and shook out all the excess …
It still doesn’t go away I have unplugged it several times, it’s heating up but not showing a temperature
December 17, 2016
When the Er5 message occurs, the only resolution that I know of is to contact the manufacturer for a warranty claim.
October 31, 2015
I’ve had my extreme for a couple happy years.
Recently have had issue with system shutdown when fan is on.
Any tips or tricks on this or can a part like the circuit board or fan be repaired/replaced?
Much thanks,
Lee
November 2, 2015
Hi Lee,
Your best bet in this case is to contact Arizer directly. Electronics are covered under a 3 year warranty, so it sounds like they should be able to help you out.