The Air is Arizer’s follow up to one of my favorite portable herbal vaporizers of all time, the Solo. While the Solo performs really well, I always had an issue with it’s bulky body style. The Air is much slimmer and sleeker, and I’m excited to see if it performs as well as the Solo. Let’s check it out.
INTRODUCTION
Let’s face it, the number of shitty portable vaporizers on the market today is staggering, and unfortunately on the rise. The re-branding of sub-par units is flooding the market and disenfranchising consumers who are having to weed through the “fakeorizers” to find units that aren’t just marketed well, but actually function well.
Even more annoying is that most reviewers, who are supposed to be putting forth their unbiased opinions in order to help consumers see through the bullshit, are getting free units and kick backs from manufacturers and distributors to talk up their products and label them as the new “must-have” vapes, making it nearly impossible for someone relatively new to scene to make the right decision when choosing a vaporizer.
Having said that (and my apologies for the rant), it’s always refreshing to me when a vaporizer comes along that’s actually propriety. Earlier this year, when I heard that Arizer was set to release an updated, more portable version of one of their most popular units, the Solo, needless to say I was excited.
While Arizer products aren’t necessarily the most heavily promoted, I’ve always had great experiences with their vaporizers. Fast forward to present day, and I’ve been using my Air for about six months now, and have finally gotten around to writing my official review. Let’s dive in.
FIRST IMPRESSIONS
The first thing I noticed about the Air is that this thing looks like it was built to last! If the Army was going to issue you a vaporizer for use in the field, this would be it. It has a real tactical feel to it, while still managing to look somewhat elegant and not overly rugged. The body of the unit is more like a “shell” which features a vented top to prevent the unit from getting too hot.
Being as that I was familiar with the Arizer Solo, the next thing I noticed about the Air is how much smaller it was. Most of the Solo’s girth is from the size of its battery, which is great for longevity, but not so much for portability.
The Air is way more slimmed down that its predecessor, measuring only 1.15 inches in diameter, compared to the Solo which measures 1.75″. This means you can actually fit the Air in your pocket, whereas the Solo was just too bulky. While the actual body of the Air is slightly taller than the Solo, 4.8″ compared to 4.5″, the Air’s draw-stem is much shorter, giving it the upper hand portability wise.
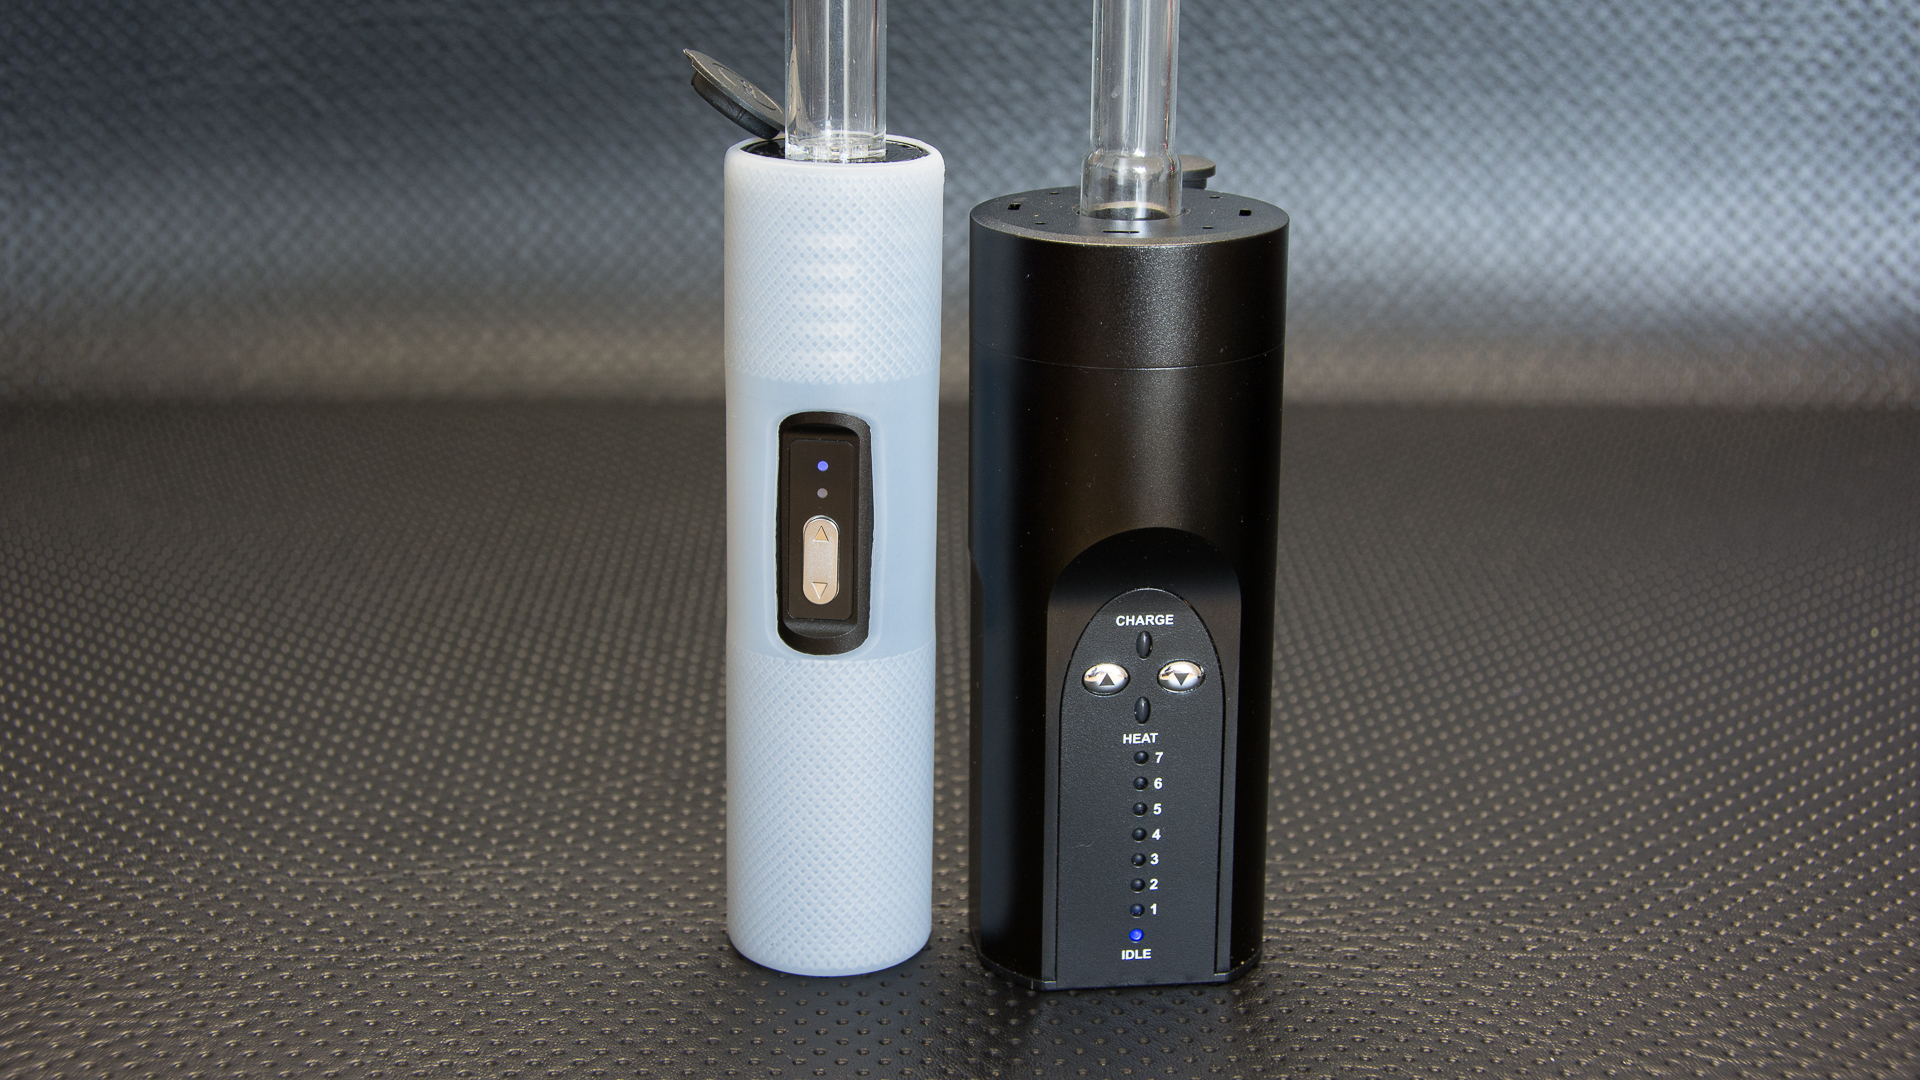
Air (with protective silicone sleeve) compared to the Solo
PACK IT UP
Those familiar with the Arizer Solo will recognize the glass draw-stems the Air uses, as their pretty similar. The Air comes with two glass diffuser stems: one short glass stem with a plastic mouthpiece, and one longer stem that is strictly glass. Whichever you prefer, the packing process will be the same. Per usual, you’ll want to grind up your herbs as fine as possible, and pack them somewhat loosely into the bottom of the draw-stem.
Once packed, just pop the stem into the opening of the heating chamber at the top of the unit. You’ll want to be pretty careful when inserting the stem into the unit, as it is glass. Arizer designed it to be a pretty snug fit, so that the stem would fit securely and not move around once in place.
TEMPERATURE CONTROL
It can be a little tough to get the stem in the first few times, as I found myself being overly careful. It should slide right in with a little bit of “umph.” If you find yourself having issues, a good trick is to turn the unit on and let it heat up. It’s a little easier to insert the stem when the opening has had a chance to warm up a bit (insert sexual pun here).
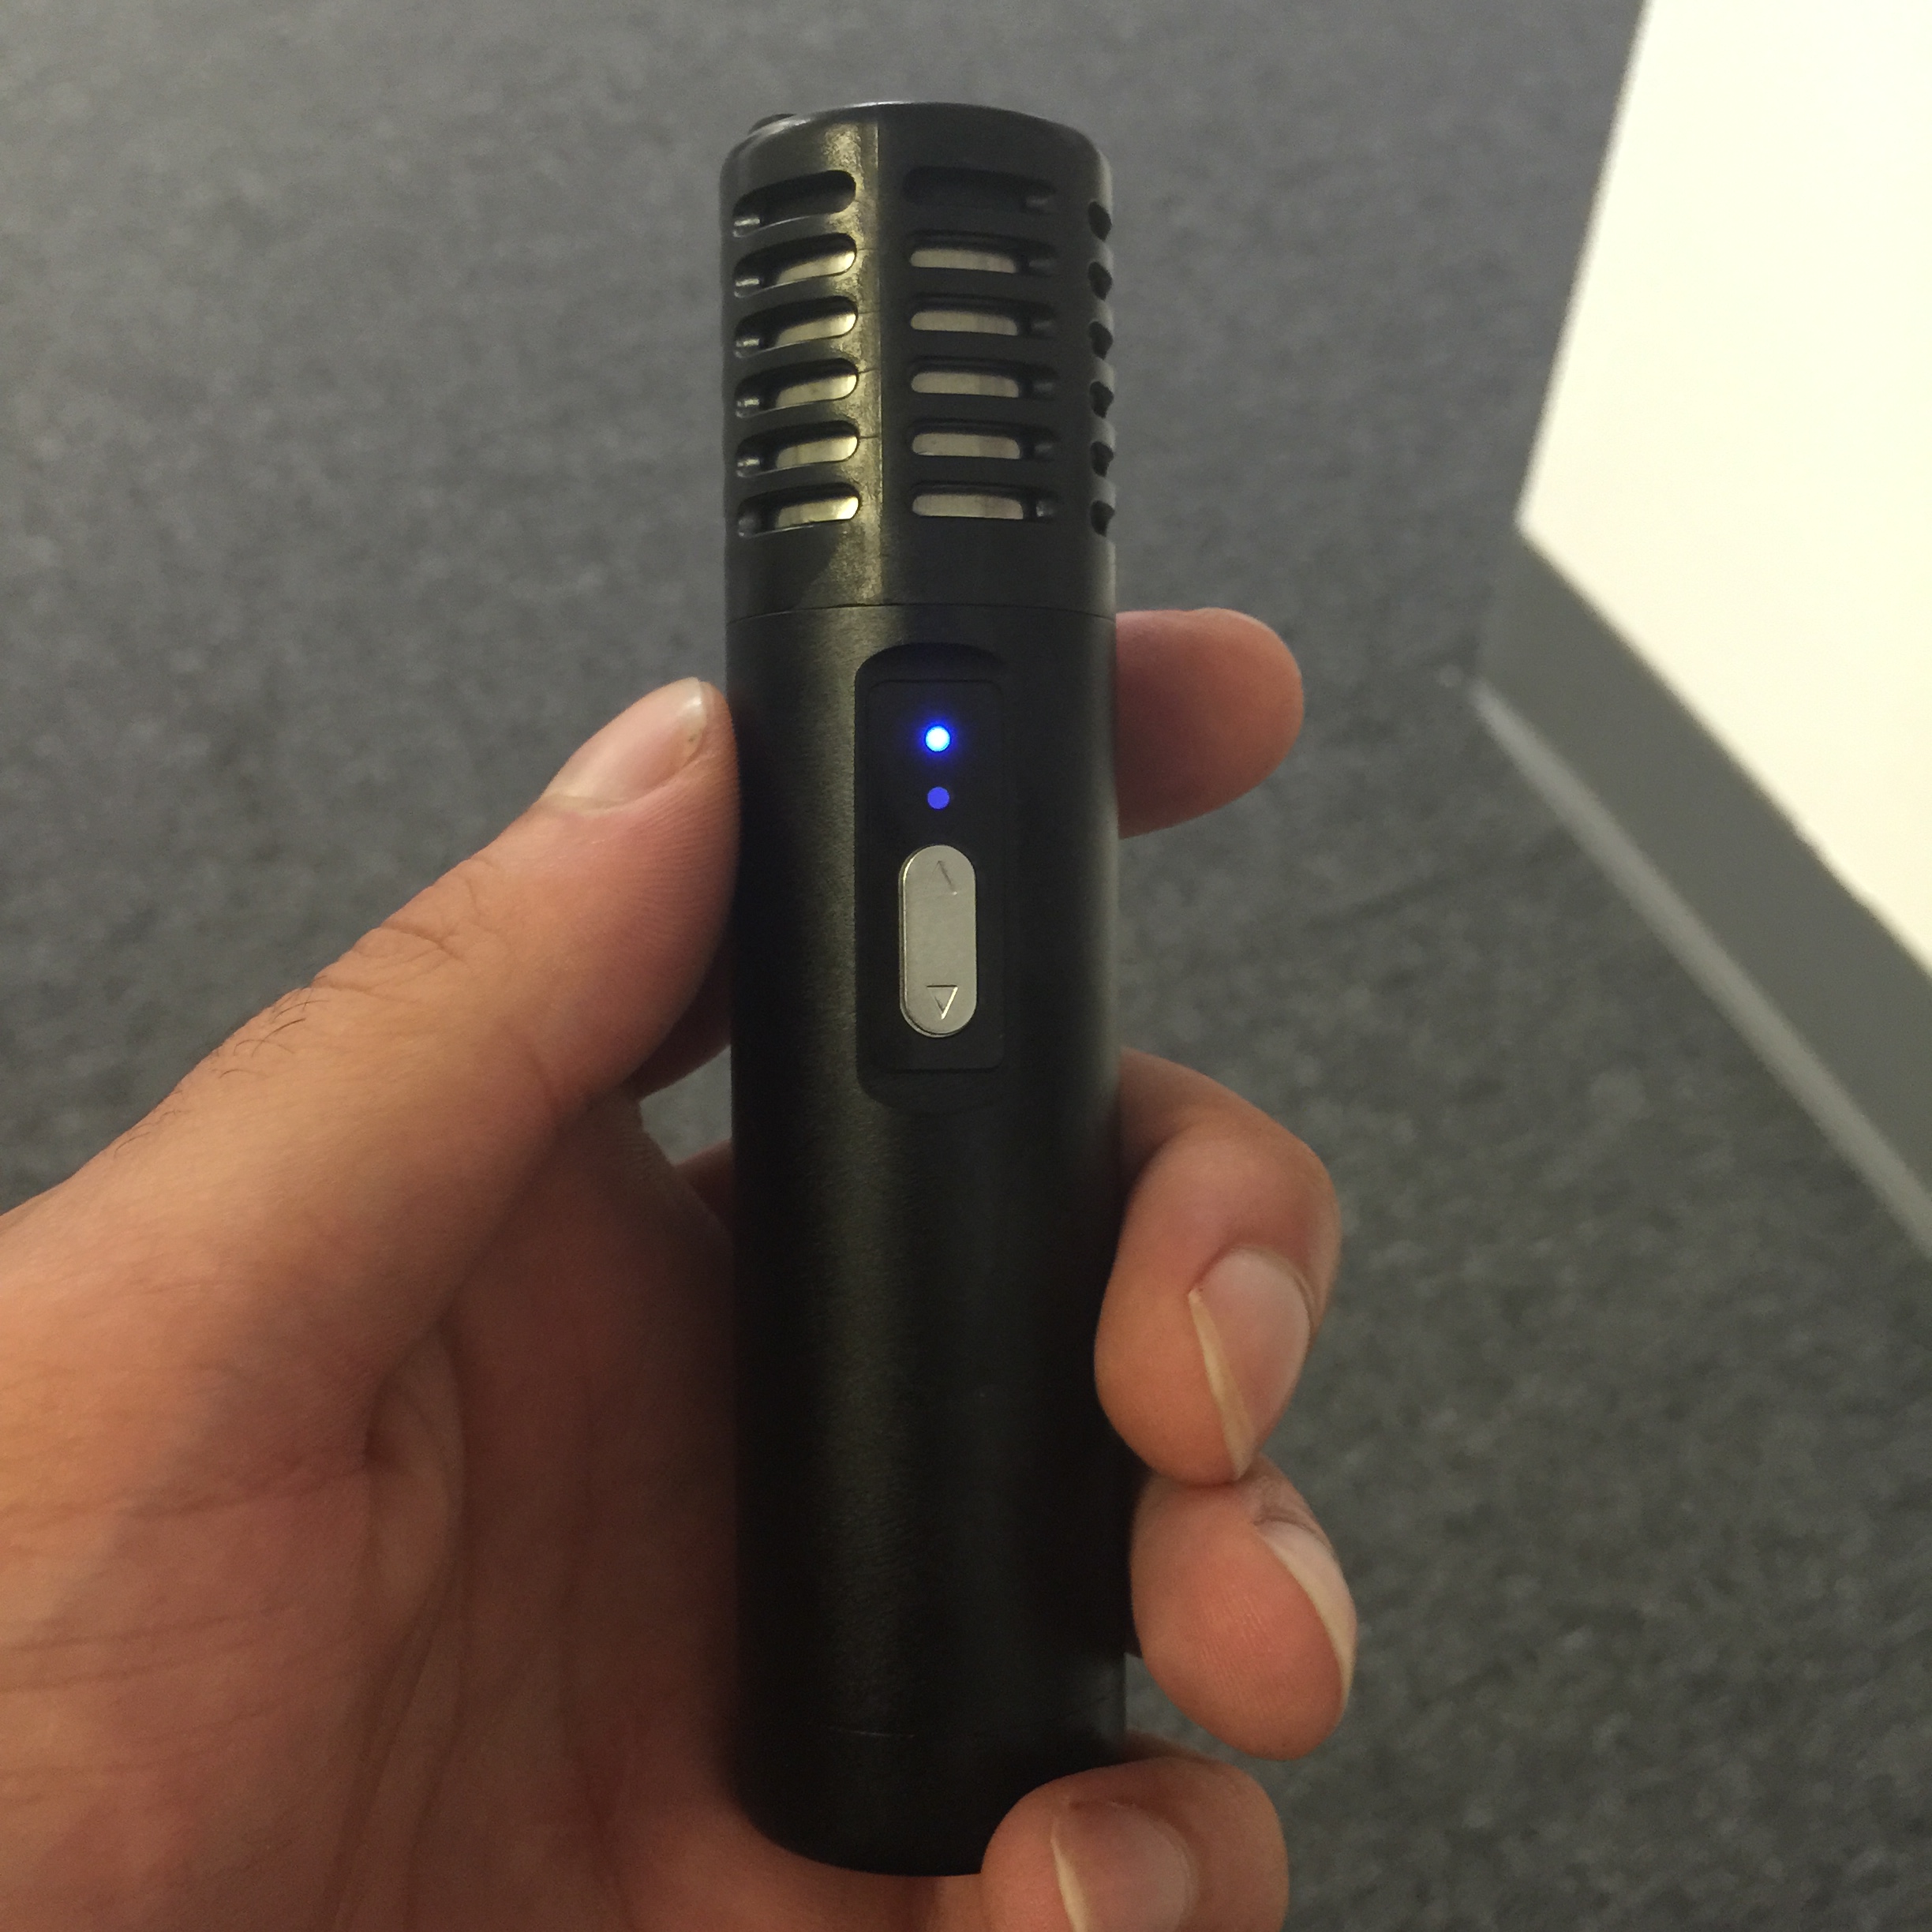
Once the stem is packed, it’s time to set the temperature. The Air utilizes the same temperature control system of its predecessor, the Solo. Five preset heat levels are able to be selected by way of the simple to use ▲ and ▼ buttons located on the front of the unit.
The different temperature settings are as follows: Level 1 (Blue): 356°F, Level 2 (White): 374°F, Level 3 (Green): 392°F, Level 4 (Orange): 401°F, Level 5 (Red): 410°F. When I vape, I personally like to start a little below 400°F, as I’m a fan of thicker vapor and larger clouds. With the Air, I’ve found Level 3 (Green) to be an ideal temperature setting.
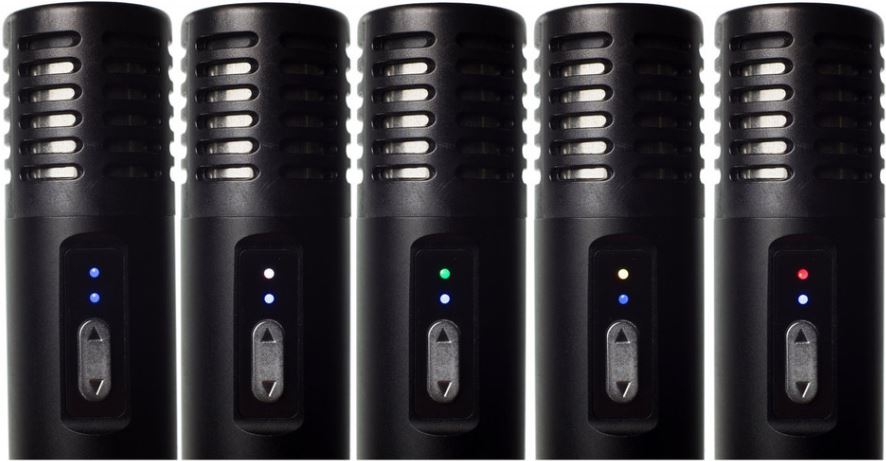
Temperature settings indicated by different colored display lights
It takes anywhere from 60-90 seconds to reach your desired temperature, which is pretty standard among portables. A blue blinking light will be displayed as the Air reaches the desired temperature. Once the blue light stops blinking, you’re ready to begin vaporizing. A feature that I seldom use, but is worth mentioning, is the Air’s smart memory function. When you first turn the unit on, instead of pressing the ▲ button to cycle through temperatures, press the ▼ and the Air will automatically set itself to the temperature of your previous vape session.
BLAST OFF
Once the blue display light stops blinking, the Air has reached its optimal temperature and is ready to go. I recommend taking a nice slow 5-7 second draw at first. As I previously mentioned, the draw resistance is a little much, but not horrible. On a lot of vapes I feel like I’m trying to suck a frozen milkshake through a straw. That’s not the case with the Air, but it’s not quite as fluid as I had hoped.

Vapor production wise, the Air is a lot like the Solo, which isn’t a bad thing. Personally, I rank both right up there with highly rated portables like the Crafty, Ascent and Pax 2. On the middle temperature setting, I’m able to rip some decent sized clouds. The higher you set the temperature, the thicker the vapor, however, I’ve found that the vapor gets a bit too warm for my liking on the two highest settings, which exceed 400°F.
As far as vapor quality and taste. the Air is right at the top of my list (just below the miVape by Vaporfection, which utilizes 100% glass components). Since the Air utilizes a glass draw-stem, the full flavor of your herbs comes through without being altered by plastic or metal. This is a big selling point for me. It’s a shame to let the true taste of your nugs be compromised by the material of the last thing it touches. Initially, I thought that the plastic mouthpiece on the shorter glass draw-stem would pretty much nullify the qualities of the glass, but to my surprise, I didn’t get a plasticity taste at all.
All and all, I guess I was kind of hoping the Air would out-perform the Solo in the vapor production department, as it’s been billed by Arizer as somewhat of an upgrade. However, I think it’s more accurate to say that the Air is just a more compact and portable version of the Solo. But like I said, this isn’t necessarily a bad thing, as the Solo is widely viewed as one of the most consistent and durable portable herbal vaporizers on the market.
BATTERY CAPABILITIES
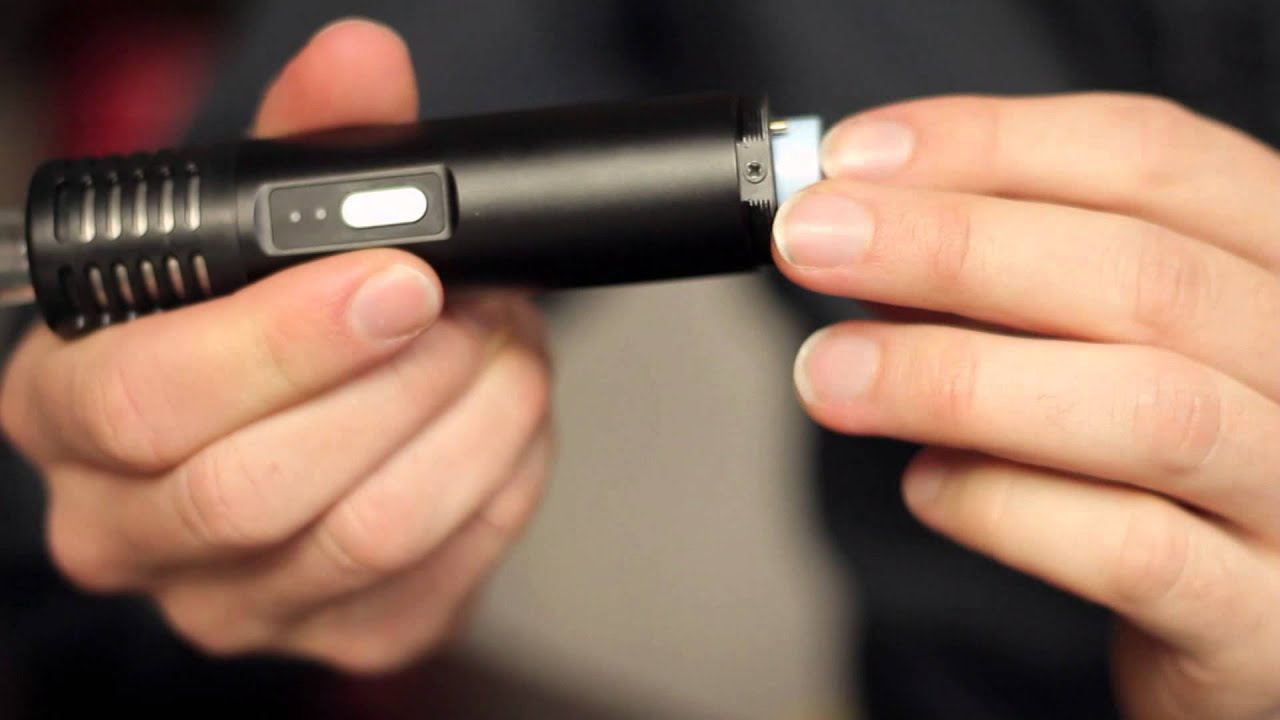
Another thing I really like about the Air is the battery system, which is definitely an upgrade over the Solo. Instead of an embedded battery, the Air features a replaceable/rechargeable Lithium-Ion 18650 battery. This makes it possible to have backup batteries charged up, so when one dies, you can just replace it with another. This is where I really feel the Air has the leg up on most other portable units which still utilize embedded batteries.
In my experience, the issues that tend to arise with vaporizers aren’t usually related to the heating element, but instead, the battery. When the battery is embedded, you’d better hope that your still within the warranty period, which is typically two years with higher quality units.
However, even if it is under warranty, you’ll usually find yourself going through a long drawn out process of sending the defective unit back to the manufacturer or distributor and waiting for a replacement. In contrast, if you run into a battery issue with the Arizer Air, you can simply replace the battery. Simple as that.
In addition to being able to replace and recharge the Li-Ion battery, the Air also features passthrough technology, meaning it can be used during the charging process – another big plus. As far as longevity goes, I’ve found that the juice will last for a little over an hour of continuous use, which is pretty standard. This is the category in which the Solo edges out the Air. However, I’m willing to sacrifice a little less battery life for a improved portability.
FINAL THOUGHTS
When it comes down to it, I consider the Air as one of the top portable herbal vaporizers and rank it right towards the top, along with the Crafty, Ascent and miVape. While it may not be as sexy, well-known or as marketed as the Pax 2 or Firefly, it performs just as well, and in my opinion – better. To be honest, if you put the aforementioned top of the line units all in a room and tested them all out, you’d be splitting hairs to decide which is the best. A lot of it has to do with personal preference. That being said, I highly recommend the Arizer Air and consider it a solid investment.
I purchased my Arizer Air from this trusted vape store, but I found that this authorized retailer has it at an even lower price.
The Verdict | Arizer Air Vaporizer Review
While it may not be sexiest (or most marketed) portable vaporizer, the Air picks up right where it’s predecessor, the Solo, left off – as being one of the most dependable and durable vaporizers on the market.
The Author
You Might Also Like